Hi Everyone, Karen here with my final design team project
for Shabby is Chic Boutique
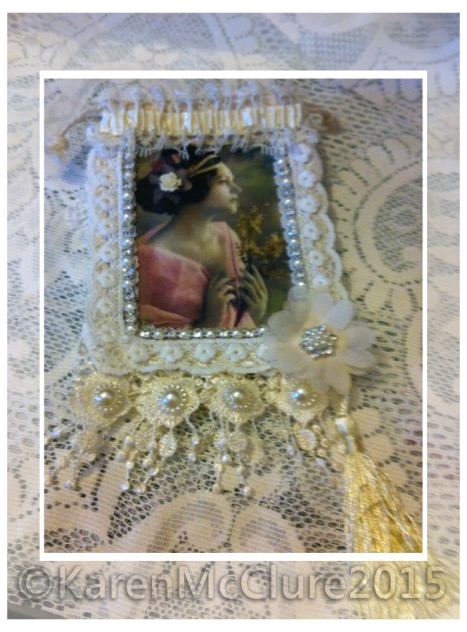
I have made a wall plaque in very subtle and muted tones
using lots of items that are available from the store.
I started of with an 8″ wide Chipboard circle
I painted it both sides with a coat of gesso and then covered the front of it with
a postal script napkin and once dried added a whitewash of white acrylic paint to
mute it slightly.
I then added the v shaped scalloped lace and finally to add that extra softness to the plaque
I added a soft scalloped lace behind it.
To tidy up the edge I added white 4mm pearl trim which worked a treat.
The decoration I pulled out a lot of elements from my design team kit and also a vintage image that I had printed off from Pinterest.
I placed everything on to get my layout and see how I liked it all on the plaque before gluing anything down.
I firstly added the heart applique then added my image which I then went around with the v shaped trim
I did cut it down the center to make it much neater and finally added 3mm white flatback pearls to it.
I absolutely loved the metal wings from my kit and knew I wanted to use one of them also so I started adding thin layers of white acrylic paint until I was happy with the coverage to embellish it further I added rhinestones and small spots of stickles glitter glue in Cotton Candy (colour)
I then decided to add the butterfly’s to the corners of the image and used the rhinestone trim to emphasis the body and rhinestones for the antennae, lastly to finish off the from I added 2 floral appliques layered with 2 leafs from one of the dangle trims and to carry on with the colour from the metal wing I added a good layer of the stickles to add the pink colour and finished it off with one of the flower centers and some rhinestone tassels
I am fairly particular with my projects and feel unless the back is finished off properly too the project isnt finished, so the reverse
I added a large doily and then went around the edge with another white gathered trim from my stash and added in a lace pocket and used a loop braid to show where the pocket is at first glance, to carry on the theme from the front to the back I added the butterflies once again and finally added the small seam binding loop on the top to hang the project.
I hope you enjoy this project and gain some inspiration from it and see how beautiful the products are on your projects.
I used the following products on my project
White Tassel Lace Trim
2mm rhinestone cupchain
V Shaped Leaf Trim
butterfly trim
gorgeous flower dangle trim
Chalk White seam binding
stunning embroidered tulle lace
black and white napkin
9.5cm White Lace Applique
17mm Rhinestone and Pearl flatback
Antique Brass Filigree Wing 4″
Thank you to Amy & Kim, and all the Design Team for their support and encouragement throughout my
design team term, I wish all the new members the very best and wish Amy every success with the future of
Shabby is Chic Boutique x Thank you to all you ladies and gents for your support it means a great deal.
Sending you all lots of love and hugs always Karen xx


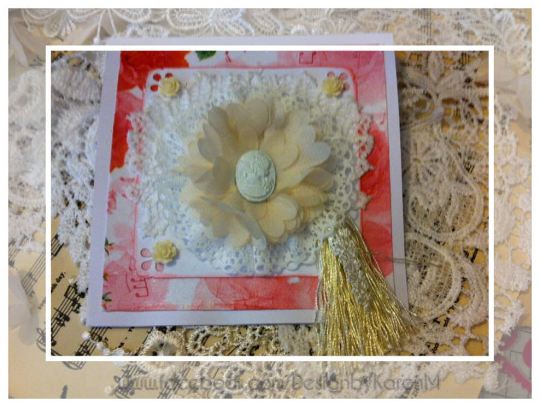


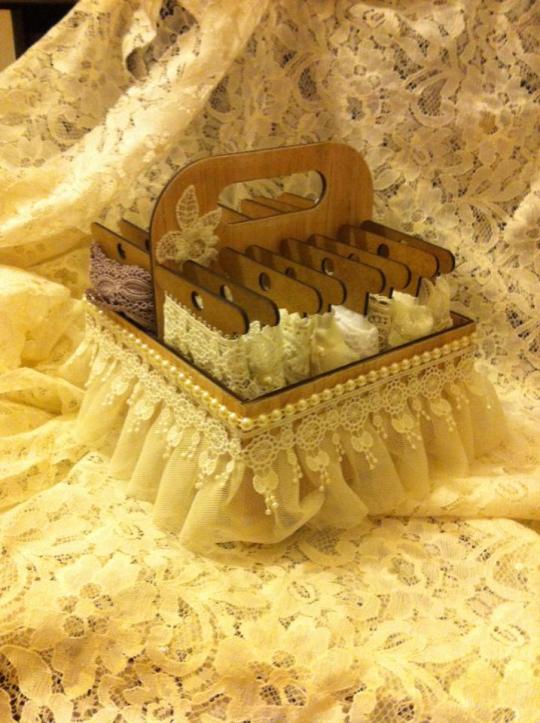
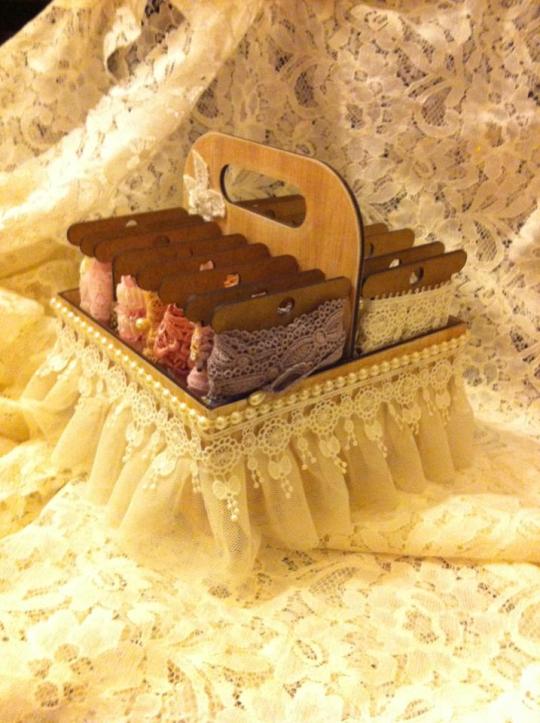
 This is my finished Project which used the following items from my kit
 16mm flatback pearl button
10pcs - I used for my Box Feet
16mm flatback pearl button
10pcs - I used for my Box Feet
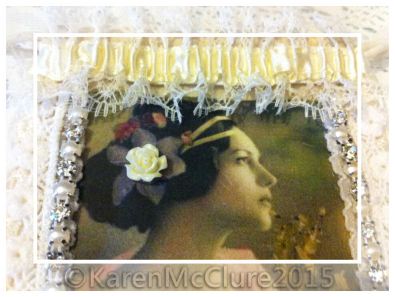
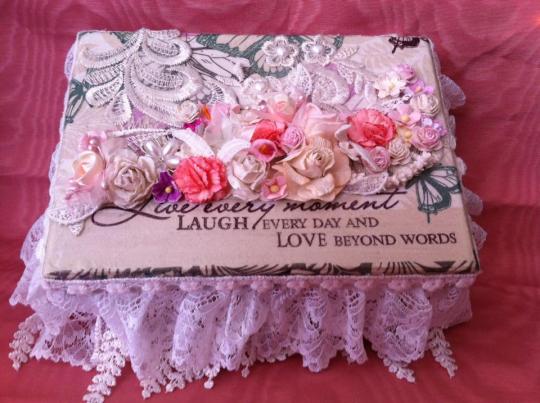
 Vintage Butterfly Napkin -
I used to cover the lid of my box, I just absolutely loved
the sentiment on the napkin.
Vintage Butterfly Napkin -
I used to cover the lid of my box, I just absolutely loved
the sentiment on the napkin.
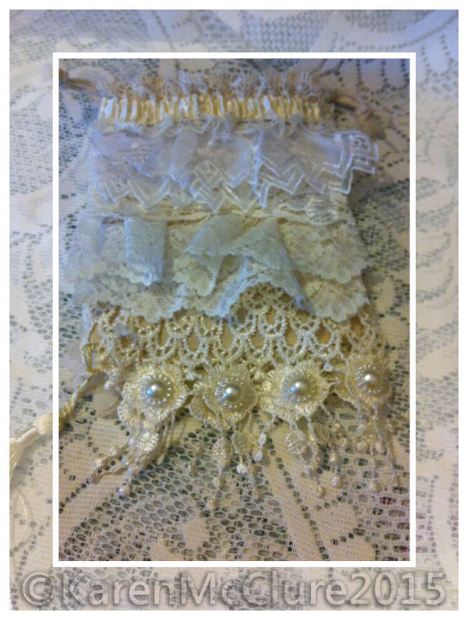
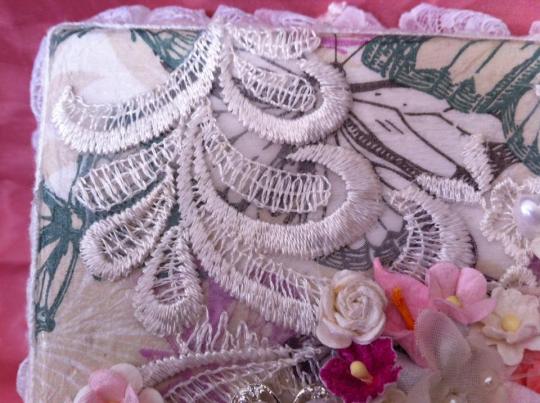 Ivory Lace Bridal Trim
2pcs
Was added to the lid of my box, it was cut into smaller sections
to cover more of the lid
Ivory Lace Bridal Trim
2pcs
Was added to the lid of my box, it was cut into smaller sections
to cover more of the lid
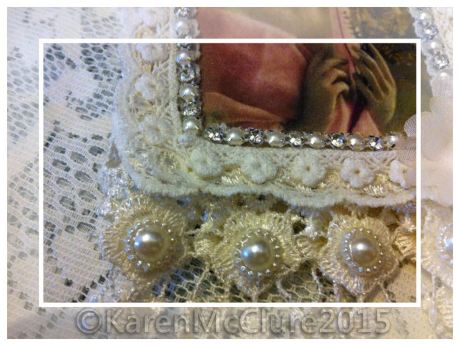
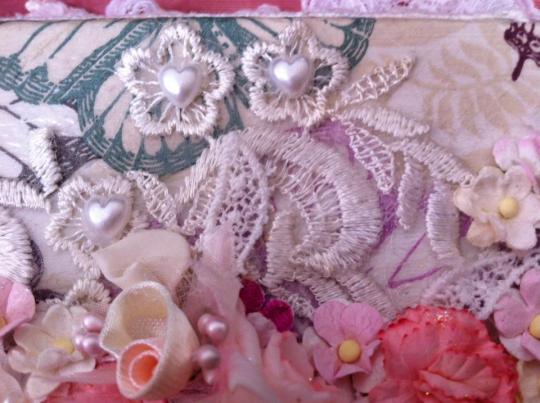 8mm Flatback pearl hearts
15 per pack
I added the Pearl hearts to my applique flower centers
8mm Flatback pearl hearts
15 per pack
I added the Pearl hearts to my applique flower centers
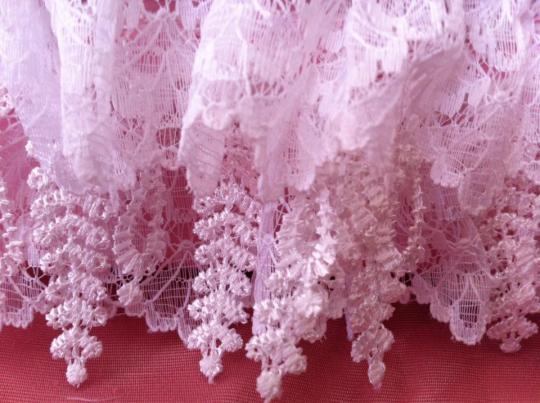
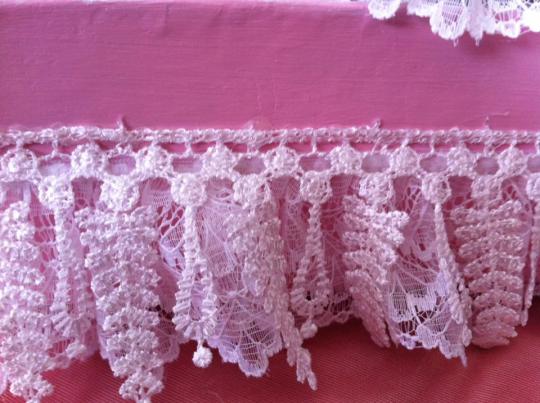 White Tassel Lace Trim
I added this stunning trim around the whole box
White Tassel Lace Trim
I added this stunning trim around the whole box
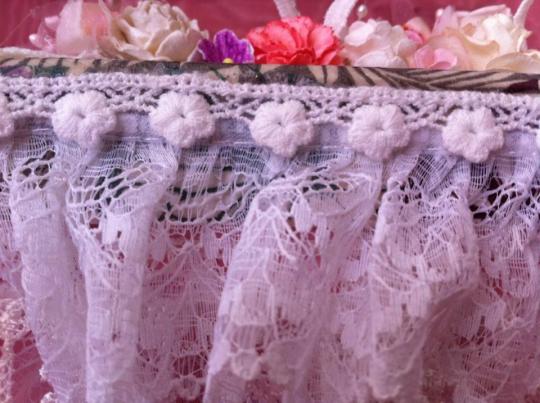 1.1cm white flower lace trim
I used around the lid of my box to disguise the seam of my lace.
1.1cm white flower lace trim
I used around the lid of my box to disguise the seam of my lace.
 Leaf Trim I used to add Leaves into my flower clusters it helped
add the softness to the box.
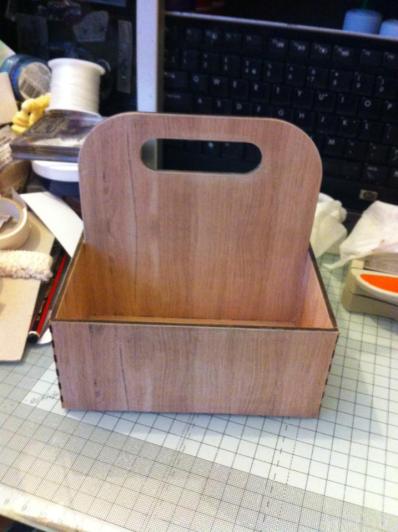
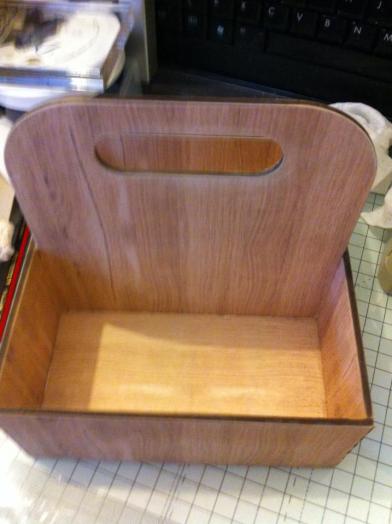
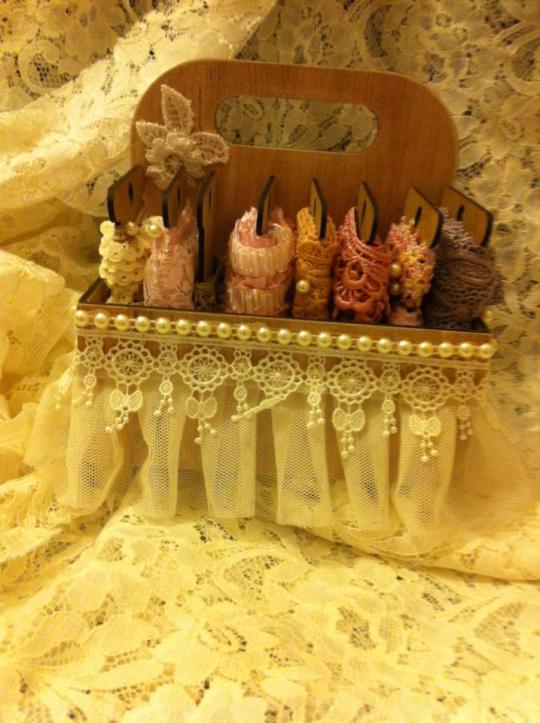
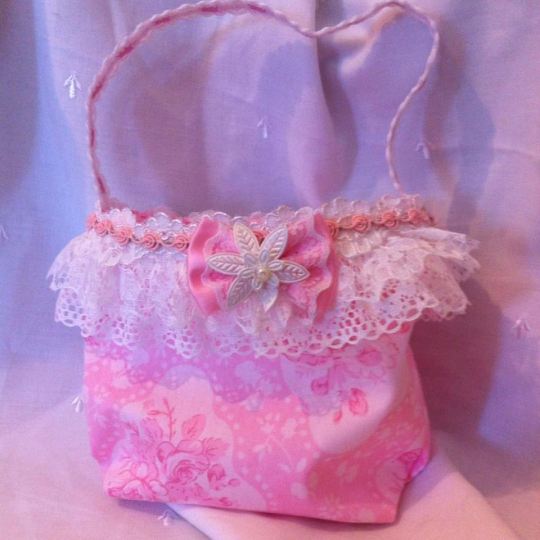
I start off my box with coating it with a layer of Gesso both inside and out,
the inside I gave a second coat using just white Acrylic paint.
I coated the box's bottom section with a soft pink acrylic paint I didnt have
the exact colour I wanted, so I mixed a deep red tone paint with
some white acrylic to give me the perfect shade.
The lid of the box, I decoupaged the napkin on using Decopatch Glossy
glue, once this has dried I lightly dust it with some baby talc
it helps to take off the tacky feeling and also gives the box
a lovely scent x
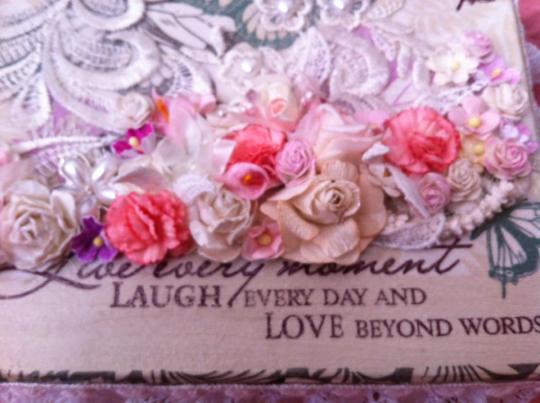
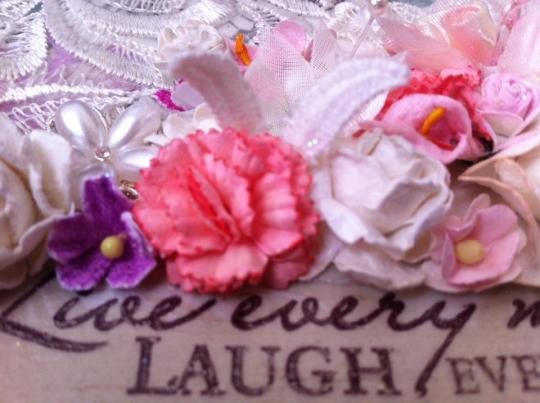
I then added my trims and finally I picked out a selection
of flowers from my stash that would work with the colours of the napkin.
I added the bridal applique on to cover as much of the lid area as possible and
then I organised my flowers to work along with the applique to
make sure I had maximum effect.
I finally for the lid added in my embellishments among
the flowers, I cut the leaf trim into small sections and used as leaves in
the flowers, I used the small pearl hearts as flower centers in my
applique flowers and lastly I added the rhinestone and pearl embellishment
into the flowers also to give it the little bit of bling it needed
to finish it off perfectly
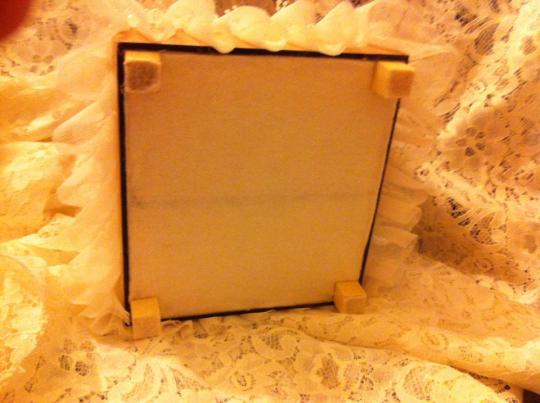
The base of my box, I added felt and then used the
16mm flatback pearl buttons to make feet for my box and I was done.
Leaf Trim I used to add Leaves into my flower clusters it helped
add the softness to the box.
I start off my box with coating it with a layer of Gesso both inside and out,
the inside I gave a second coat using just white Acrylic paint.
I coated the box's bottom section with a soft pink acrylic paint I didnt have
the exact colour I wanted, so I mixed a deep red tone paint with
some white acrylic to give me the perfect shade.
The lid of the box, I decoupaged the napkin on using Decopatch Glossy
glue, once this has dried I lightly dust it with some baby talc
it helps to take off the tacky feeling and also gives the box
a lovely scent x
I then added my trims and finally I picked out a selection
of flowers from my stash that would work with the colours of the napkin.
I added the bridal applique on to cover as much of the lid area as possible and
then I organised my flowers to work along with the applique to
make sure I had maximum effect.
I finally for the lid added in my embellishments among
the flowers, I cut the leaf trim into small sections and used as leaves in
the flowers, I used the small pearl hearts as flower centers in my
applique flowers and lastly I added the rhinestone and pearl embellishment
into the flowers also to give it the little bit of bling it needed
to finish it off perfectly
The base of my box, I added felt and then used the
16mm flatback pearl buttons to make feet for my box and I was done.